CREATING A WORDPRESS THEME FROM SCRATCH CONTENT AND THE WORDPRESS TEMPLATE HIERARCHY
In this second part of our guide to creating your own WordPress theme from scratch, we’ll look at content types and how you can display them in your theme. We’ll look at the WordPress Template Hierarchy and the WordPress Loop.
Do you have a WordPress development environment ready on your computer? If not, follow this easy step-by-step guide to setup IIS, PHP, MySQL and WordPress, all on your Windows computer.
This is the second part of our guide to Creating a WordPress Theme from Scratch. Start with Theme files, styles, header and footer if you’re following along.
Posts, pages and templates
In the previous section of this guide, we created the minimum required theme files, defined some CSS styles and added a header and footer. Now it’s time to put this framework to use and show some content created in WordPress.
WordPress content comes in several flavors:
- Post – Block of content with a date attached to it (a news item)
- Page – Undated block of content (a static page)
- Custom Post Type – Block of content with a date, and additional fields defined (in code) by you
Though WordPress was originally created as a content management system for blogs, as illustrated by the core presence of the “post” content type, today it’s suitable for creating website of any type – even sites without a blog section at all. The Custom Post Types (CPTs) can be used to create any sort of content block: a movie review, a recipe, a game solution and so on.
Whenever a visitor accesses a URL on your website, WordPress serves some content. The files you create in your theme define how this content is presented. These presentation files are written and PHP and known as template files. So far, we have created only index.php, which will serve as the home page, but we can create single-post.php (for displaying an individual post) and page.php (for a page) as well. Actually, index.php is used only if no other template is available.
The WordPress template hierarchy
The order in which WordPress looks for and uses templates is called the template hierarchy. You can study an interactive version of it at wphierarchy.com. For instance, if WordPress needs to serve a static page, it will look for the following files, in order:
custom.phpwhere custom is the name of the template used by the static page (a template can be set in the WordPress page editor)page-slug.phpwhere slug is the slug of the page WordPress wants to displaypage-id.phpwhere id is the unique id of the page WordPress wants to displaypage.phpsingular.phpindex.php
If you look at the hierarchy diagram, you will see that singular.php also applies to posts, and index.php applies to everything: it is the final fallback template.
To create a general template for static page content, we can thus define page.php to affect all pages except for those with a specific template selected in the WordPress page editor (we’ll get to that bit later).
Creating test content
For testing purposes, we’ll need a page to display. To create one, go into the WordPress administration panel and find Pages -> Add New to create a new page. Alternatively, you can use the pre-existing “Sample Page” for testing if you’re starting with a fresh WordPress installation.
If you visit http://mydirectory/sample-page in your browser now, with the theme files we’ve created in the previous guide, you’ll get the contents of index.php again and no page content is shown. We’re about to change that.
Create a new file called page.php in the theme directory:
<?php get_header(); ?>
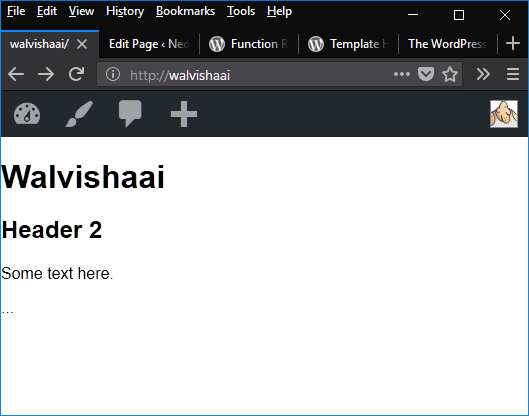
<h1>This is a page.</h1>
<?php get_footer(); ?>Refresh your browser, and voilá: This is a page appears. WordPress has loaded our page.php template because it is serving a static page.
Showing page content
At this point, we’re showing content that’s hard-coded in page.php and not the actual content of the page. We’ll remedy that now:
<?php get_header(); ?>

<div class="wrap">
  <div id="primary" class="content-area">
    <main id="main" class="site-main" role="main">

      <?php while ( have_posts() ) : the_post(); ?>

        <article id="post-<?php the_ID(); ?>" <?php post_class(); ?>>
        <header class="entry-header">
          <?php the_title( '<h1 class="entry-title">', '</h1>' ); ?>
        </header><!-- .entry-header -->
        <div class="entry-content">
          <?php
            the_content();
            wp_link_pages( array(
              'before' => '<div class="page-links">Pages:',
              'after'  => '</div>',
            ) );
          ?>
        </div><!-- .entry-content -->
      </article><!-- #post-## -->

     <?php endwhile; // End of the loop. ?>

    </main><!-- #main -->
  </div><!-- #primary -->
</div><!-- .wrap -->

<?php get_footer(); ?>
With this code in page.php, our sample page content will be properly displayed:
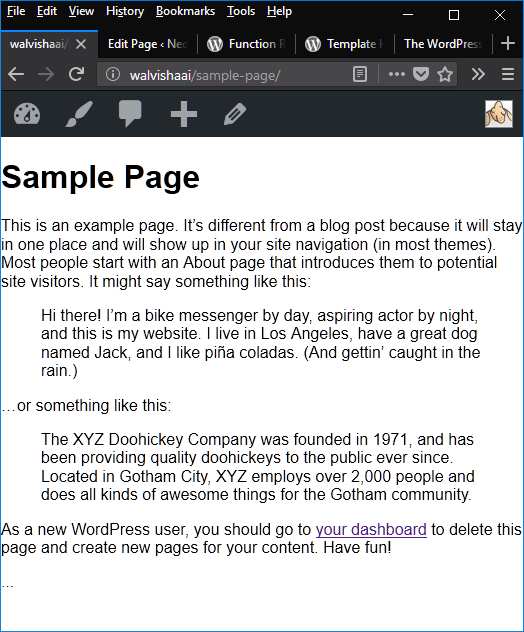
What happens here?
- I’ve added some elements for styling. The whole page is wrapped in a
<div>, so is the content area, and there is a<main>block for the page content. The page content is served in an<article>element, with a<header>element for the page title. We can use all of this later for our CSS rules. - The page content is found by executing a WordPress content loop. For the moment, know that this results in the page being found and set as “the current post”. (Under the hood, everything in WordPress is called a “post”).
- With the current post set, we use
the_titleto display the page title where we want it.the_titletakes arguments of HTML content to be inserted before and after the title text. - We use
the_contentto display the page contents. - We use
wp_link_pagesto display page links for paginated posts. This, too, takes arguments of content to be displayed before and after the page links.
The Loop
And so we come to the core of displaying content with WordPress: The Loop. Almost every template file you write will contain an instance of The Loop. Within the loop, WordPress finds all posts that must be displayed for the current request. If the current request is the home page, WordPress might find the most recent 8 news items. If it’s a post archive page for February, WordPress might find the 18 posts you wrote in that month. If it’s a request for a single, static page – identified by its slug in the URL – WordPress will find only one post that matches, but it’s still necessary to include The Loop.
Many WordPress function may only be called inside The Loop, where WordPress is guaranteed to have set a current post to be processed. Examples are the_ID, the_title and the_content as used in the code above.
The Loop always starts like this:
<?php if ( have_posts() ) : while ( have_posts() ) : the_post(); ?>And ends like this:
<?php endwhile; else : ?> <p><?php esc_html_e( 'Sorry, no posts matched your criteria.' ); ?></p><?php endif; ?>Note that we left out the “Sorry, no posts matched…” bit in our code, since a single page is guaranteed to be found.
Summary
In this guide, we have seen:
- How to WordPress Template Hierarchy works
- How to create a template for a static page
- How to display static page content in our page template
- How “The Loop” works in WordPress
In the next part of this guide, we’ll improve the styling of our template and show how you can add a main menu to your theme. Thanks for reading!